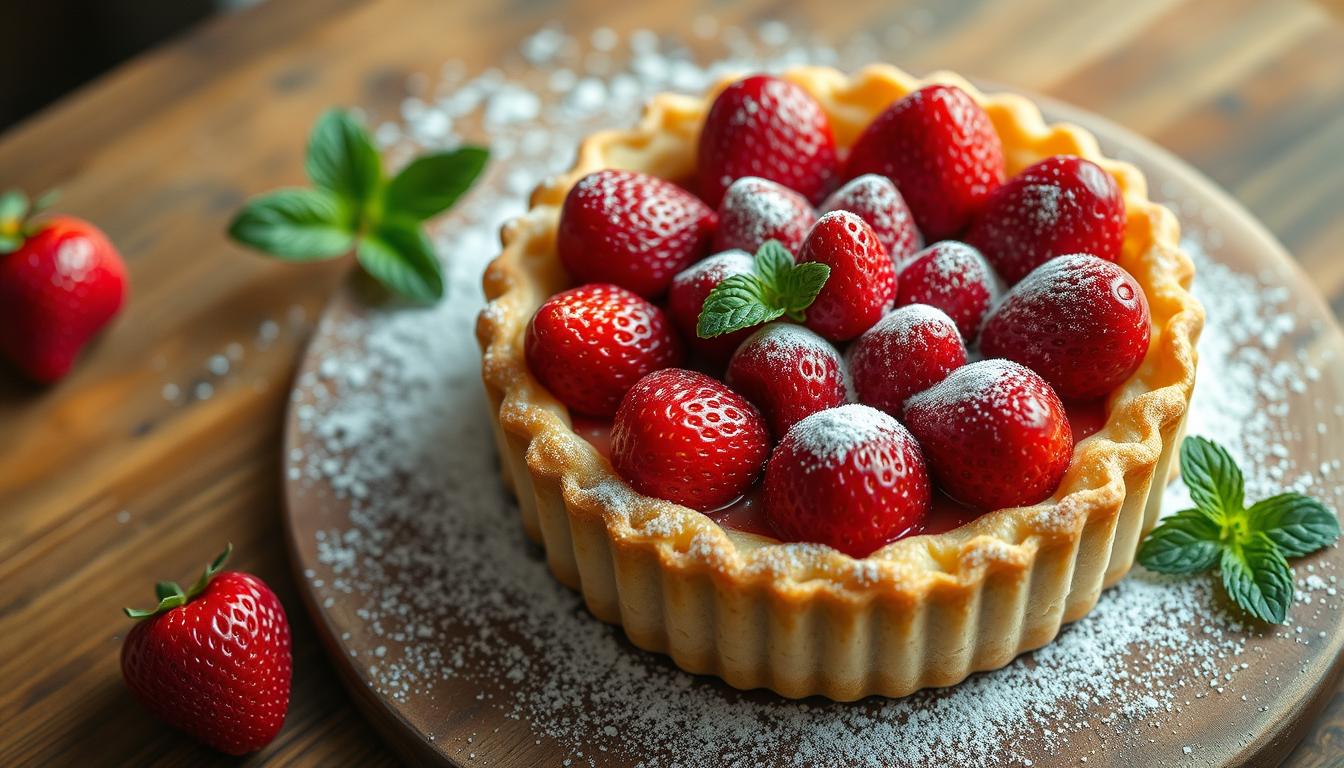
Remember the first time you bit into a dessert that felt like sunshine on a plate? For many of us, that moment comes with a buttery crust, silky cream, and jewel-like berries. This recipe captures that magic—no fancy skills required. Let’s create a showstopping treat that’ll make your kitchen smell like a Parisian patisserie.
At its core, this dessert balances simplicity and elegance. The flaky base starts with cold unsalted butter and flour, pulsed in a food processor for effortless dough. Blind baking ensures it stays crisp, while a creamy filling—whipped cream cheese blended with vanilla and sugar—adds richness. Fresh strawberries crown the creation, their natural sweetness shining.
You’ll love how approachable this is. No rare ingredients: just pantry staples and ripe berries. Even the tools are basic—a tart pan, mixing bowls, and an oven preheated to 350°F. Follow the step-by-step instructions, and in under two hours (mostly hands-off chilling time), you’ll have a masterpiece. Serve it at gatherings, or keep it all for yourself—we won’t judge.
Table of Contents
ToggleKey Takeaways
- Uses everyday tools like a food processor and standard tart pan
- Chill dough for 1 hour to prevent shrinking during baking
- Room-temperature cream cheese blends smoothly into the filling
- Arrange berries artistically for a professional finish
- Cool crust completely before adding creamy layers
Ingredients and Tools for a Perfect Strawberry Tart
Quality ingredients lay the foundation for a dessert that dazzles. Whether you’re a novice or seasoned baker, success starts with choosing fresh components and reliable tools. Let’s break down what you’ll need to craft a balanced treat that’s equal parts creamy, crisp, and vibrant.
Fresh Berries, Cream Cheese, and Whipping Cream Essentials
Start with 1 pound of ripe berries—their sweetness elevates the entire dish. For the filling, room-temperature cream cheese blends smoothly with heavy whipping cream and a splash of lemon juice. Cold unsalted butter is non-negotiable for the crust: it creates flaky layers when cut into flour.
Granulated sugar adds subtle sweetness, while vanilla extract enhances depth. If you’re out of cream cheese, mascarpone works in a pinch. Just avoid low-fat alternatives—they’ll make the filling watery.
Kitchen Equipment and Measurement Tips
A food processor saves time mixing dough, but a pastry cutter works too. Use a tart pan with a removable bottom for clean slices. Always measure flour by spooning it into cups and leveling—packing it down leads to dense crusts.
Chill your mixing bowl before whipping cream to speed up stiff peak formation. Keep a ruler handy for rolling dough evenly. Precision matters here: even a ¼-cup extra flour can alter the texture.
Mastering the Tart Crust
The foundation of any great dessert lies in its base. For a crisp, golden foundation, precision matters most. Let’s break down the science of creating a crust that holds its shape while melting in your mouth.
Forming a Flaky, Tender Dough
Start by pulsing 1¼ cups flour, granulated sugar, and salt in a food processor. Add cubed cold unsalted butter—the key to flaky layers. Pulse until crumbs form, then drizzle ice water (1 tbsp at a time) until dough clumps.
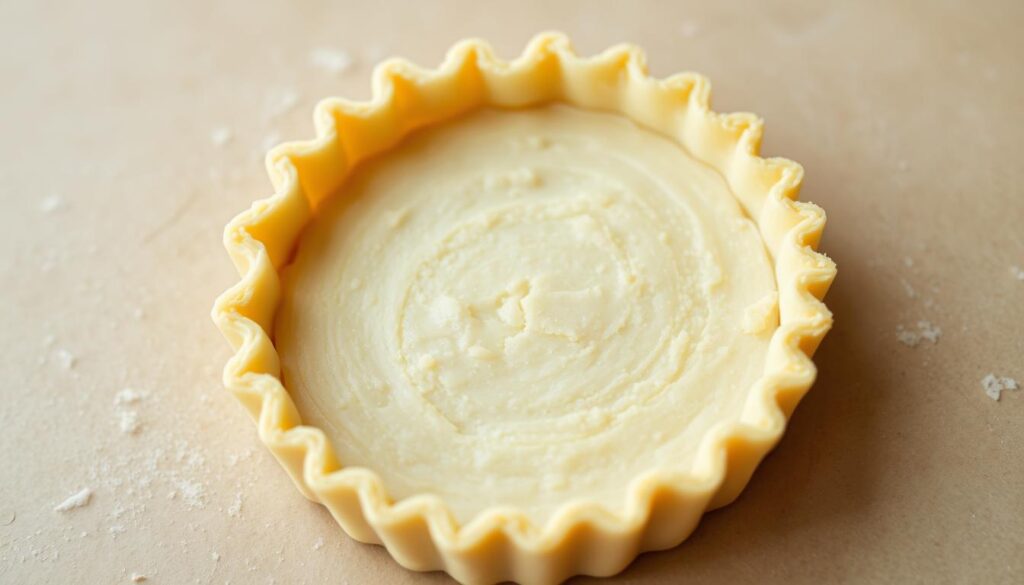
Handle it like rare porcelain: overworking creates toughness. Shape into a disk, wrap in plastic, and chill 1 hour. Roll it out on a floured surface to ⅛-inch thickness. Gently press into your tart pan, trimming excess from the bottom sides with a knife.
Blind Baking and Handling Techniques
Preheat your oven to 375°F. Line the crust with parchment and fill with pie weights or dried beans. Bake 15 minutes until edges dry. Remove weights, poke holes with a fork, and bake 8 more minutes for golden perfection.
Unlike pie crusts, tart bases are thinner and require exact chilling times. Let it cool completely before adding fillings—this prevents sogginess. Pro tip: Use a glass pan to monitor browning without opening the oven.
- Pulse ingredients just until combined—no smooth blends
- Chill dough twice: before rolling and after pan placement
- Rotate pan halfway through baking for even color
Strawberry tart: Crafting the Filling and Assembly
The heart of this dessert lies in its velvety layers and vibrant presentation. A well-balanced filling and thoughtful berry arrangement transform simple components into edible art. Let’s dive into techniques that ensure both flavor harmony and Instagram-worthy aesthetics.

Mixing the Cream Cheese and Whipped Cream Filling
Start by beating room-temperature cream cheese until smooth—this prevents lumps. Gradually add sugar, lemon juice, and vanilla extract. “The secret is incorporating air slowly,” says pastry chef Emily Carter. “It creates a cloud-like texture.”
In a chilled bowl, whip heavy cream to stiff peaks. Fold it gently into the cheese mixture using a spatula. Overmixing deflates the air bubbles, so work in sweeping motions. The result? A filling that’s light yet stable enough to hold berry toppings.
Arranging Strawberries for Visual Appeal
Slice fresh berries uniformly—¼-inch thickness works best. Begin at the crust’s edge, placing slices in overlapping concentric circles. Angle them slightly upward for a blooming effect. Leave the center open for a dramatic whole strawberry crown.
Melt apricot jam with a splash of water, then brush it over the arranged fruit. This glaze adds shine and locks in freshness. Let the dessert chill for 30 minutes before serving. The wait allows flavors to meld while keeping textures distinct.
Step-by-Step Guide to Assembling Your Tart
Transforming simple ingredients into an elegant dessert requires methodical precision. Follow these easy-to-follow instructions to build layers of flavor and texture that hold their shape when sliced.
Preparing and Pre-Baking the Crust
- Preheat your oven to 375°F. Roll chilled dough on a floured surface to ⅛-inch thickness. Press it into a 9-inch pan with removable bottom, trimming excess edges with a knife.
- Line crust with parchment paper. Fill with pie weights or dried beans. Bake 15 minutes until edges turn golden. Remove weights, prick bottom sides with a fork, and bake 8 more minutes.
- Cool completely on a wire rack—about 25 minutes. Tip: If dough cracks, press scraps into gaps while warm.
Layering the Cream Filling and Topping
- Beat cream cheese until smooth. Gradually add sugar and vanilla. In a separate bowl, whip cream to stiff peaks. Fold into cheese mixture using a spatula.
- Spoon filling into cooled crust. Smooth surface with a knife. Arrange uniform berry slices in concentric circles, angling them upward.
- Brush with melted apricot jam. Refrigerate 30 minutes. Serve chilled for clean slices.
If your filling appears runny, chill it for 10 minutes before spreading. For uneven browning, rotate the pan halfway through baking. These steps ensure a restaurant-quality result every time.
Expert Tips, Tricks, and Substitutions
Great recipes adapt to your kitchen—not the other way around. Whether you’re missing an ingredient or racing against the clock, these professional strategies keep your dessert on track without sacrificing quality.
Flexible Swaps and Efficiency Hacks
Out of cream cheese? Mascarpone offers a richer flavor, while Greek yogurt adds tang (reduce liquid elsewhere). For the glaze, try red currant jelly instead of apricot—it gives a deeper crimson shine. If using salted butter in the crust, omit half the added salt.
Save 20 minutes by freezing dough discs up to a month. Thaw overnight in the fridge before rolling. Mini tart pans bake faster—reduce cooking time by 5-7 minutes. For last-minute gatherings, pre-slice berries and store them layered with paper towels.
Organize your workspace like a pro: measure all ingredients first, and use one bowl for both filling components. A bench scraper speeds up cleanup by lifting stuck dough bits in seconds. “Multi-tasking tools like silicone mats double as crust liners,” notes baker Mia Torres.
Want a rustic look? Arrange whole berries haphazardly and dust with powdered sugar. For gluten-free versions, swap flour with a 1:1 almond blend—just add an extra egg yolk to bind. These tweaks let you personalize the recipe while keeping its soul intact.
Conclusion
Creating bakery-worthy desserts at home might seem daunting, but this recipe proves it’s within reach. From mixing the flaky crust to arranging jewel-toned berries, each step builds toward a showstopping result. Quality ingredients—like ripe seasonal fruit and proper chilling times—transform simple techniques into professional outcomes.
The step-by-step guide demystifies French pastry methods while offering smart shortcuts. Whether you’re prepping dough ahead or experimenting with glazes, the process rewards patience without demanding perfection. Those invested hours? They’re the secret to layers that balance crisp texture with creamy indulgence.
Now’s your moment to shine. Grab that tart pan, follow the instructions, and watch guests marvel at your creation. Share slices at gatherings or savor them solo—every bite celebrates your effort. Ready to make magic? This recipe awaits your twist.
FAQ
Can I use frozen berries instead of fresh ones?
Fresh berries are ideal for texture and flavor, but thawed frozen varieties work in a pinch. Pat them dry thoroughly to avoid excess moisture in the filling.
How do I prevent the crust from becoming soggy?
Blind baking (pre-baking with weights) creates a barrier. Brushing the cooled shell with melted chocolate or egg wash also helps seal it against moisture.
What’s the best way to stabilize whipped cream?
Add 1 tbsp of cornstarch or powdered sugar per cup of heavy cream while whipping. Chill the bowl and beaters beforehand for faster, firmer peaks.
Can I make this dessert ahead of time?
Prep the crust and filling separately up to 24 hours in advance. Assemble just before serving to maintain the crispness of the base and freshness of the berries.
Are there dairy-free substitutions for the filling?
Swap cream cheese with Kite Hill’s almond-based spread and use coconut whipped cream. Ensure all ingredients are chilled for optimal consistency.
How do I achieve evenly sliced berries?
Use a sharp paring knife and slice vertically from tip to stem. For uniform thickness, aim for ¼-inch pieces and arrange them in concentric circles.
Can I use a store-bought crust to save time?
Yes! Pre-made shells like Keebler’s graham cracker crust work well. Bake it empty at 375°F for 5–7 minutes to enhance crispness before adding fillings.