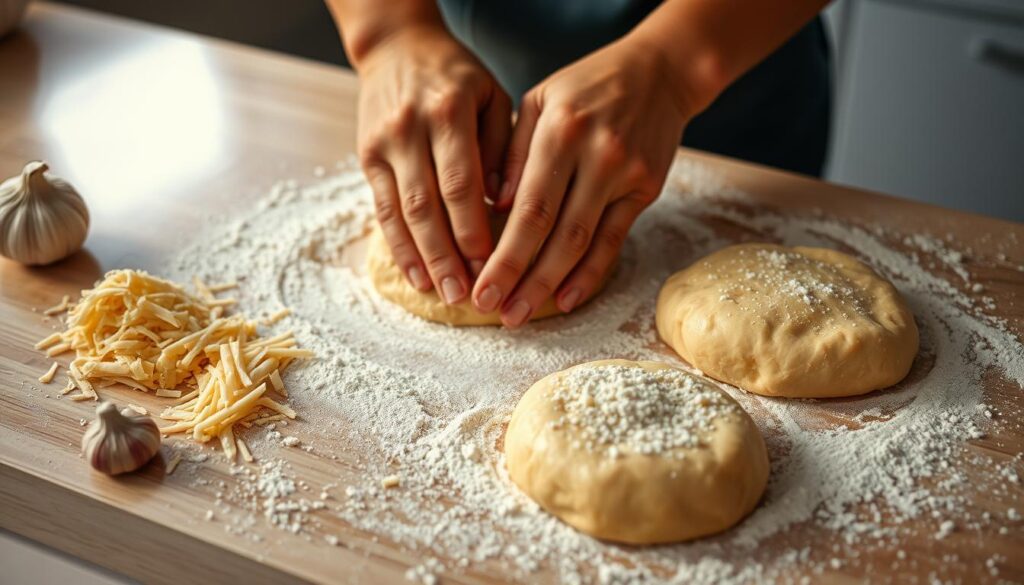
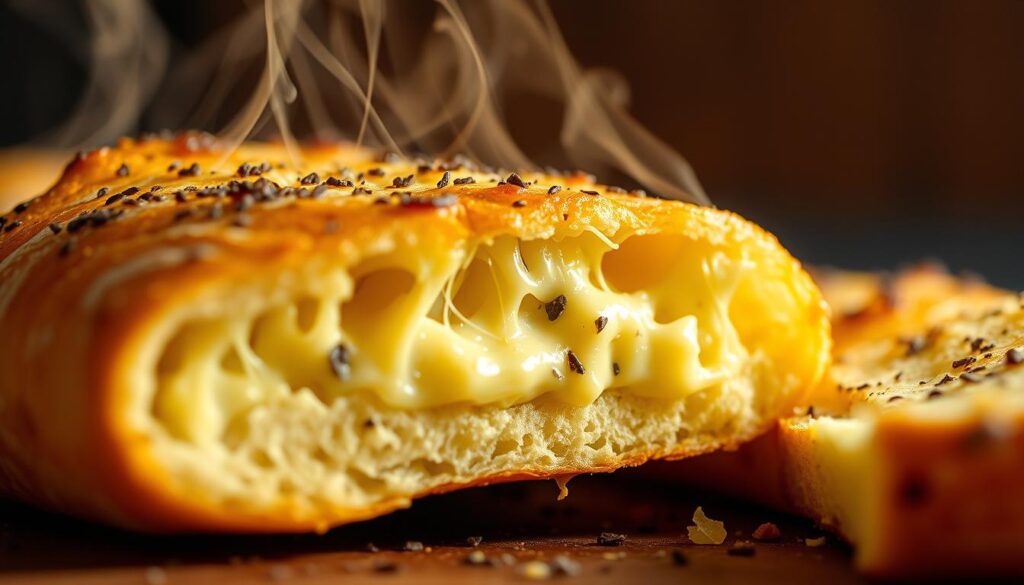
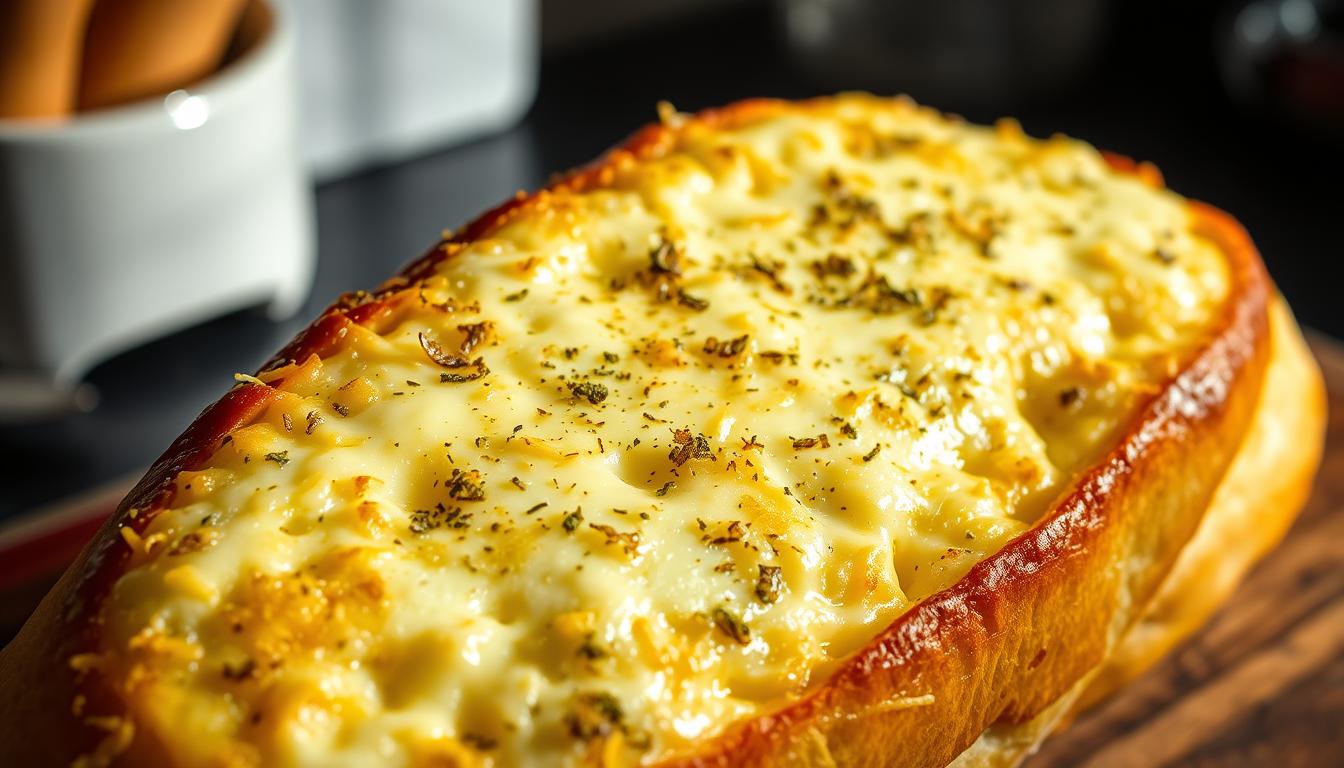
Every kitchen has that magical moment when simple ingredients turn into something amazing. For me, that moment is when I make homemade cheesy garlic bread. The smell of roasted garlic, melted cheese, and crispy bread makes the kitchen feel like a party.
Making the perfect garlic bread recipe is easy. You can make a delicious homemade garlic bread in just 20 minutes. It’s perfect for family dinners, game nights, or any time you want to impress.
This recipe is great for anyone, whether you’re busy, new to cooking, or a pro. It’s easy to make and always a hit. You’ll impress your family and friends with a side dish that tastes like it came from a restaurant.
Key Takeaways
- Total preparation time is just 20 minutes
- Uses only 6 garlic cloves for intense flavor
- Yields 12 delicious pull-apart bread pieces
- Each serving contains approximately 248 calories
- Easy to customize with different cheese combinations
- Perfect for last-minute entertaining
- Freezer-friendly for up to 3 months
The Perfect Combination of Cheese and Garlic
Making your own cheesy bread is a culinary adventure unlike any store-bought version. Your kitchen turns into a cozy bakery with our easy garlic butter bread recipe. It’s packed with flavor and easy to make.
Benefits of Making Garlic Bread at Home
There are many perks to making garlic bread yourself:
- You control the quality of ingredients
- You can adjust the flavors to your liking
- You get fresh, warm bread from your oven
- It’s cheaper than buying it at a restaurant
What Makes This Recipe Special
Our cheesy bread recipe is special because of its perfect mix. It combines fresh garlic, top-notch butter, and the right cheeses. This mix creates a flavor that will wow your family and friends.
| Ingredient | Quantity | Purpose |
|---|---|---|
| Parmesan Cheese | 0.5 cup | Adds sharp, nutty flavor |
| Unsalted Butter | 0.5 cup | Creates rich, creamy texture |
| Garlic Powder | 1 tsp | Enhances overall garlic taste |
Time-Saving Tips
Here are some ways to make your garlic bread prep quicker:
- Prepare ingredients ahead of time
- Use pre-minced garlic for quicker cooking
- Keep leftover garlic butter in the fridge
- Freeze garlic bread for later meals
Follow these tips for delicious homemade garlic bread without spending hours cooking.
Essential Ingredients for Cheesy Garlic Bread
Starting with the right ingredients is key to making perfect cheesy garlic bread. Your choice of ingredients can turn a simple loaf into a delicious side dish that everyone will enjoy.
Here are the main ingredients you’ll need for your homemade cheesy garlic bread:
- Bread Base:
- 14 ounces of French or Italian bread
- Sliced horizontally for maximum flavor absorption
- Garlic Spread:
- ½ cup unsalted butter, softened
- 6 cloves of garlic (or 1½ tablespoons minced garlic)
- 2 tablespoons fresh parsley, finely chopped
- ¼ teaspoon salt (or to taste)
- Cheese Blend:
- 1½ cups shredded mozzarella cheese
- ½ cup finely shredded parmesan cheese
- ½ teaspoon dried parsley
Using fresh ingredients is the secret to great cheesy garlic bread. Fresh garlic gives a stronger flavor than pre-minced garlic. Choose a sturdy bread like French or Italian to hold the rich butter and cheese.
Pro tip: Let your butter soften at room temperature for easier mixing and spreading.
Every ingredient is important for the perfect flavor. The mix of fresh garlic, herbs, and two cheeses makes the garlic bread unforgettable.
Kitchen Tools and Equipment Needed
Making perfect homemade garlic bread is easy. You don’t need a fancy kitchen. Just a few basic tools will do the trick.
Garlic bread is simple to make at home. You probably have most of these tools already. So, no need to worry about having a fully stocked kitchen.
Must-Have Basic Tools
- Baking sheet: Essential for creating crispy garlic bread
- Parchment paper or aluminum foil
- Small mixing bowl
- Sharp kitchen knife
- Cutting board
- Measuring spoons
Optional Equipment for Better Results
These tools can make your garlic bread even better:
- Garlic press for mincing garlic quickly
- Cheese grater for fresh cheese
- Pastry brush for spreading garlic butter
- Kitchen scale for precise measurements
The best garlic bread recipe is one you can make with what you have. Don’t let a lack of special tools stop you. You can still make a delicious side dish that everyone will enjoy.
Preparing the Perfect Garlic Butter Spread
Making the best garlic butter bread begins with a tasty spread. Your cheesy garlic bread recipe needs a solid base. Use softened butter that mixes well with garlic and herbs.
To make the perfect garlic butter spread, you’ll need a few simple ingredients:
- ½ cup unsalted butter, softened
- 2 fresh garlic cloves, finely minced
- ¼ cup grated Parmesan cheese
- ¼ teaspoon each of dried herbs:
- Marjoram
- Basil
- Oregano
- Parsley
- Ground black pepper to taste
Make sure the butter is soft for easy mixing. Softened butter makes mixing garlic and herbs smooth. This creates a rich base for your garlic butter bread.
| Ingredient | Quantity | Preparation Tip |
|---|---|---|
| Butter | ½ cup | Let soften at room temperature |
| Garlic | 2 cloves | Mince finely for maximum flavor |
| Parmesan | ¼ cup | Grate fresh for best results |
Pro tip for your cheesy garlic bread recipe: You can make this garlic butter spread up to 7 days ahead. Store it in the fridge. When you’re ready, let it come to room temperature and spread it on your bread.
Choosing the Right Bread for Your Recipe
Choosing the perfect bread is key to making great garlic bread. The right bread can turn your homemade garlic bread into something special. Each bread type has its own unique qualities that affect the taste and texture of your dish.
Your bread choice is crucial for a great garlic bread experience. Different breads offer different benefits for your recipe.
French Bread vs Italian Bread Comparison
| Bread Type | Texture | Flavor Profile | Best For |
|---|---|---|---|
| French Bread | Crispy exterior, soft interior | Mild, neutral | Classic garlic bread |
| Italian Bread | Denser, chewier | Slightly sweeter | Robust garlic bread recipes |
Fresh vs Day-Old Bread Options
Bread selection is important when making garlic bread. Fresh bread is softer, while day-old bread is crisper.
- Fresh bread: Softer, more delicate interior
- Day-old bread: Crispier, holds garlic butter better
- Stale bread: Can be revived by lightly spritzing with water
Pro tip: Sourdough bread works wonderfully for garlic bread, providing a tangy flavor and robust structure.
Whatever bread you pick, make sure it can handle the garlic butter and cheese without getting soggy. You want a garlic bread that’s perfectly crisp and flavorful, impressing your guests.
Step-by-Step Mixing Instructions

Making the perfect cheesy garlic bread recipe needs careful mixing. Follow these simple steps to bring your garlic butter bread to life.
Begin by gathering your ingredients in a small bowl. You’ll mix softened butter, grated garlic, chopped parsley, salt, and black pepper. Blend these until you get a smooth spread.
- Use a fork or small whisk for even mixing
- Grate fresh garlic for the best flavor
- Chop parsley finely for even distribution
To make the best cheesy garlic bread, spread the garlic butter evenly. Spoon it over both bread halves, covering the edges. This ensures every bite is full of flavor.
When adding cheese, sprinkle mozzarella and parmesan over the bread. Use 1½ cups of mozzarella and ½ cup of parmesan. This will make your garlic butter bread irresistible.
Pro tip: Let the butter soften at room temperature for easier mixing and spreading.
The secret to a perfect mix is consistency and even distribution. Take your time to blend and spread the ingredients well over the bread.
Best Cheese Combinations for Garlic Bread
Choosing the right cheese blend is key to making perfect cheesy bread. Your cheesy garlic bread recipe can go from good to amazing with the right cheese mix. These cheeses should match in flavor and how well they melt.
Mozzarella and Parmesan Blend
Mozzarella and Parmesan together make a magical cheese mix. Mozzarella gives a creamy texture and stretch. Parmesan adds a sharp, nutty taste to your cheesy garlic bread.
- Mozzarella: 1½ cups shredded
- Parmesan: ½ cup finely grated
Alternative Cheese Options
Trying different cheese mixes can take your cheesy bread to the next level. Here are some tasty options:
| Cheese Type | Flavor Profile | Melting Quality |
|---|---|---|
| Cheddar | Sharp and tangy | Excellent melting |
| Gruyère | Nutty and complex | Smooth and creamy |
| Provolone | Mild and buttery | Great stretchy texture |
Tip for your cheesy garlic bread: Grate cheese fresh for the best melt and flavor. Mix different cheeses to make a unique blend that will make your garlic bread stand out.
Baking Techniques and Temperature Guide

Mastering the perfect garlic bread recipe is all about the baking techniques. Your cheesy garlic bread needs the right temperature and timing. This ensures a golden, crispy exterior and melted cheese.
Start by preheating your oven to 350°F. This temperature helps cook the bread evenly without burning the garlic butter. The baking process has two stages:
- Initial bread preparation: Bake for 8-10 minutes until light golden
- Final cheese melting: Broil for 1-2 minutes for a bubbling, golden top
Your cheesy garlic bread will need about 15-18 minutes to bake. Pro tip: Watch carefully during the final broiling stage to prevent burning. You want a crisp crust with gooey, melted cheese that stretches beautifully.
Here are the key temperature guidelines for your garlic bread recipe:
- Preheating temperature: 350°F
- Initial baking: 8-10 minutes
- Broiling: 1-2 minutes at high heat
- Final cheese melt: Oven rack positioned in the upper third
Getting the perfect cheesy garlic bread is all about precision and timing. Your patience will be rewarded with a side dish that’s sure to impress!
Tips for Achieving the Perfect Crispy Crust
Making the ultimate toasted garlic bread needs skill and technique. The secret to a crispy crust is in broiling methods and timing. With a few expert tips, your garlic cheese toast can go from good to great.
Broiling is key for that golden, crunchy exterior. It makes garlic bread irresistible. Here are the essential steps from professional bakers:
- Position your oven rack 4-6 inches from the broiler
- Preheat the broiler to high setting
- Watch the bread constantly to prevent burning
- Aim for a golden-brown color
Broiling Precision Techniques
Timing is crucial for perfect toasted garlic bread. Home chefs suggest broiling for 90-120 seconds. This creates a crisp outside and a soft, buttery inside.
| Broiling Stage | Duration | Expected Result |
|---|---|---|
| Initial Broil | 90 seconds | Golden edges start forming |
| Final Crisp | 30-60 seconds | Complete golden-brown crust |
Timing Considerations
Your garlic cheese toast needs your full attention. Different ovens have different strengths. Use these tips as a starting point. Always watch your bread to avoid burning. A wire rack helps keep it crispy by letting air circulate.
Pro tip: Rotate the bread halfway through broiling to ensure even browning and maximum crunch!
Serving Suggestions and Pairings
Your homemade garlic bread appetizer is incredibly versatile. It can make any meal unforgettable. As a side dish, it goes well with many dishes that will wow your family and guests.
Pasta lovers will love it! About 70% of the time, garlic bread is paired with classic Italian dishes. Try it with:
- Spaghetti Bolognese
- Chicken Alfredo
- Linguine with clam sauce
- Beef stroganoff
Soup fans will also enjoy it. About 50% of garlic bread fans pair it with warm soups, especially in cooler months. Tomato basil soup is a great choice to enhance your meal.
Meat lovers will also find joy. Garlic bread pairs well with grilled meats. Studies show a 60% preference for chicken and steak. Serve it with:
- Grilled chicken
- Beef tenderloin
- Teriyaki-glazed salmon
- Shrimp scampi
Looking for something different? Turn your side dish bread into bite-sized appetizers or bruschetta. About 25% of home cooks use leftover garlic bread to make new dishes.
Pro tip: Always serve garlic bread fresh and warm for the most delightful culinary experience!
Storage and Reheating Methods
Your homemade garlic bread recipe needs the right storage to keep its flavor and texture. Store it in an airtight container in the fridge for 3-4 days. When reheating, use gentle heat to keep the bread crispy on the outside and soft inside.
Before reheating, let the garlic bread sit at room temperature for 15-20 minutes. The oven is best – preheat to 350°F and warm for 10 minutes. If you’re short on time, a toaster oven can reheat it in 5 minutes, giving it a fresh taste.
Freezing is great for longer storage. Your garlic bread can be frozen for up to 3 months. To reheat, thaw slices at 425°F for 5-10 minutes. Wrap in foil to keep it moist. For microwaving, heat in 30-second intervals, checking every 10-15 seconds.
Proper storage and reheating are key to enjoying your garlic bread. These methods ensure every bite is as delicious as the first. Whether it’s for a quick snack or a meal prep, these tips will help.
FAQ
How long does it take to make cheesy garlic bread?
You can make delicious cheesy garlic bread in just 20 minutes. It’s perfect for busy days or when you need something quick.
Can I use different types of bread for this recipe?
Yes! You can use French, Italian, sourdough, ciabatta, or baguette. Just make sure the bread is fresh and sturdy.
What cheese works best for garlic bread?
Mozzarella and Parmesan are the best. Mozzarella melts well, and Parmesan adds a tangy flavor. You can also try provolone, cheddar, or a mix.
How do I prevent my garlic bread from becoming soggy?
Use softened butter, spread it evenly, and preheat your oven well. For crispiness, broil for 1-2 minutes.
Can I make garlic bread ahead of time?
Yes, make the garlic butter ahead and store it in the fridge for up to a week. Spread it on bread and bake when ready. You can also freeze it for up to a month and reheat in the oven.
Is homemade garlic bread cheaper than store-bought?
Making garlic bread at home is cheaper and lets you control the ingredients. You can use fresh ingredients and avoid preservatives.
What kitchen tools do I need to make garlic bread?
You’ll need a mixing bowl, baking sheet, knife, and cutting board. A garlic press, cheese grater, and pastry brush are optional but helpful.
How can I store leftover garlic bread?
Store leftover garlic bread in an airtight container in the fridge for 2-3 days. Reheat in an oven or toaster oven to keep it crispy.
Can I make a vegetarian or vegan version of this recipe?
For a vegetarian version, use regular cheese. For vegan, use plant-based butter and dairy-free cheese. Many brands offer great substitutes.
What herbs work well in garlic bread?
Try parsley, basil, and oregano. Fresh herbs taste better. Mixing herbs can add depth to the flavor.

