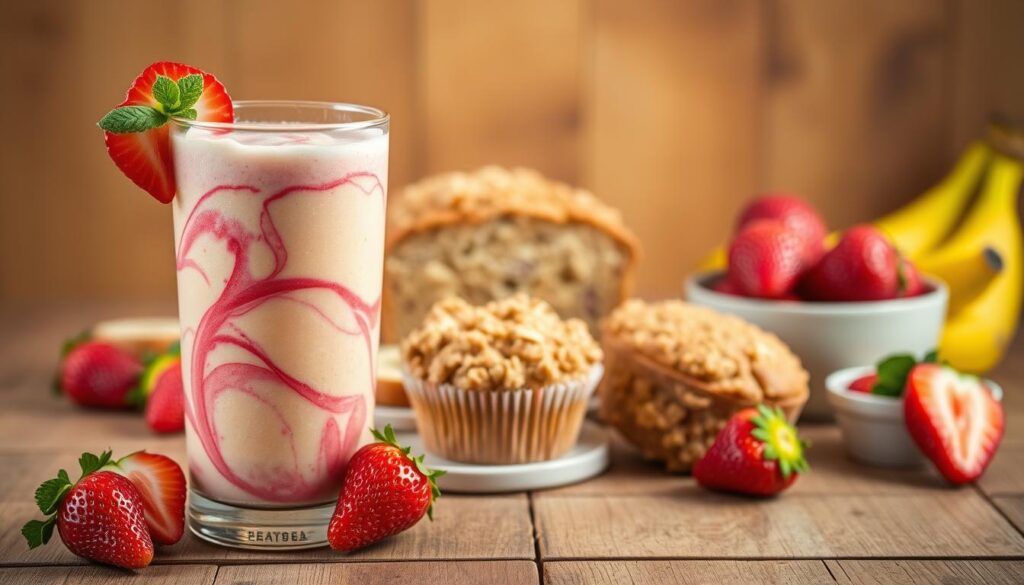
There’s something magical about the smell of freshly baked goods filling your kitchen. Maybe it reminds you of weekend mornings with family or the joy of sharing a homemade treat with friends. Today, we’re blending nostalgia with innovation in a recipe that’s as comforting as it is exciting.
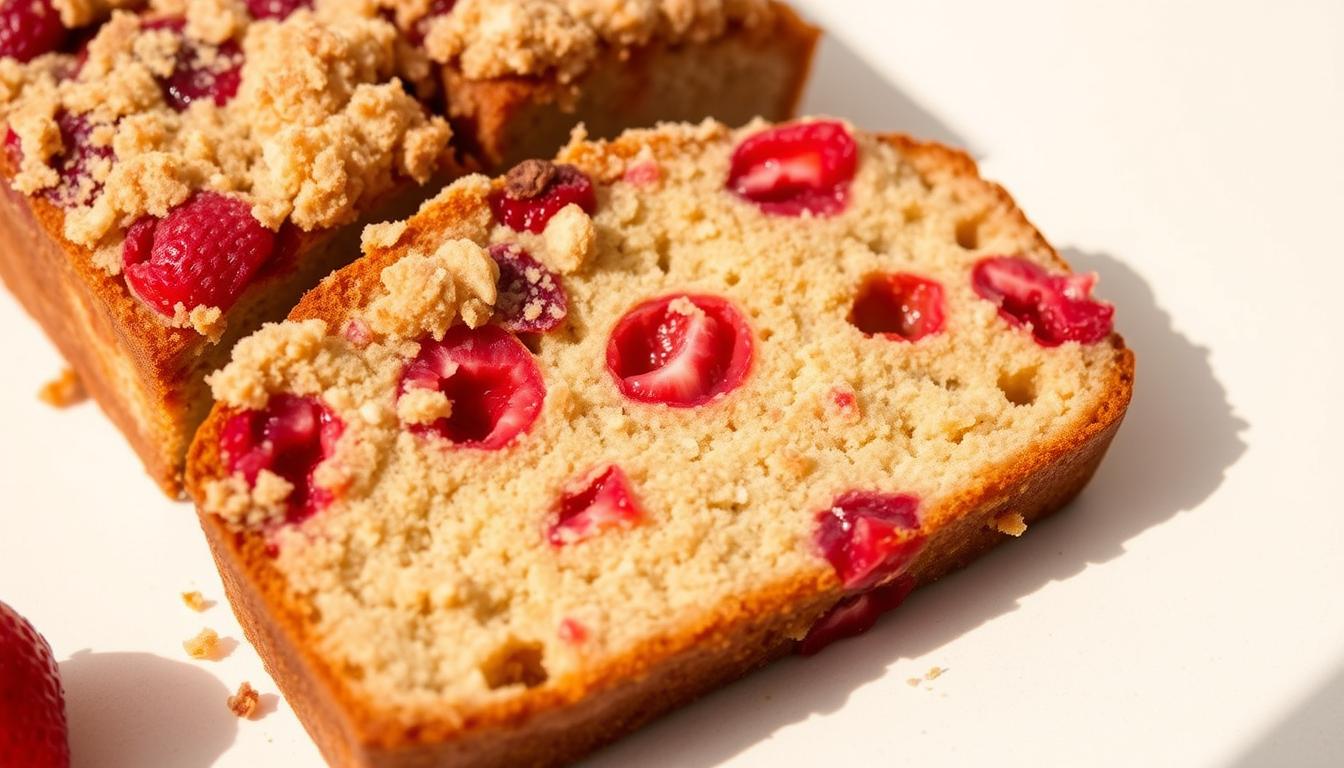
Imagine biting into a slice of moist, naturally sweetened bread dotted with juicy berries and crowned with a golden, buttery crumble. This 5-ingredient recipe skips refined sugars and eggs, relying instead on ripe bananas and fresh strawberries for flavor. It’s perfect for busy mornings, afternoon snacks, or even dessert.
What makes this dish special? It’s the effortless balance of simplicity and indulgence. Whether you’re a seasoned baker or just starting out, you’ll appreciate how easy it is to whip up. Plus, the crunchy topping adds a texture that elevates every bite.
Table of Contents
ToggleKey Takeaways
- Uses only five basic ingredients, saving time and effort.
- Contains no eggs or refined sugar for a healthier twist.
- Combines fresh fruit and a crumble topping for rich texture.
- Works equally well as breakfast, snack, or dessert.
- Requires minimal prep and baking tools.
Introduction to a Delicious Recipe
Imagine a treat that satisfies your sweet tooth without the guilt. This creation brings together nature’s candy—ripe fruit—and a satisfying crunch in every bite. Let’s explore what makes this dish a must-try for anyone craving simplicity and flavor.
Why You Should Try This Bread
Perfect for busy lifestyles, this recipe skips complicated steps. You get moist results using just five items already in your pantry. The magic lies in mashed bananas, which act as a natural binder and sweetener. No eggs or refined sugar means you can enjoy it any time of day.
The Unique Blend of Strawberries and Bananas
Ripe bananas and juicy berries create a flavor harmony that’s both bright and comforting. The bananas’ creaminess balances the strawberries’ tang, while the crumble adds a bakery-style finish. This combination isn’t just tasty—it’s visually stunning, with ruby-red fruit peeking through golden batter.
Choosing quality ingredients matters here. Overripe bananas intensify sweetness, while fresh berries prevent sogginess. Together, they create a texture that’s soft yet substantial. It’s proof that simple components can deliver extraordinary results.
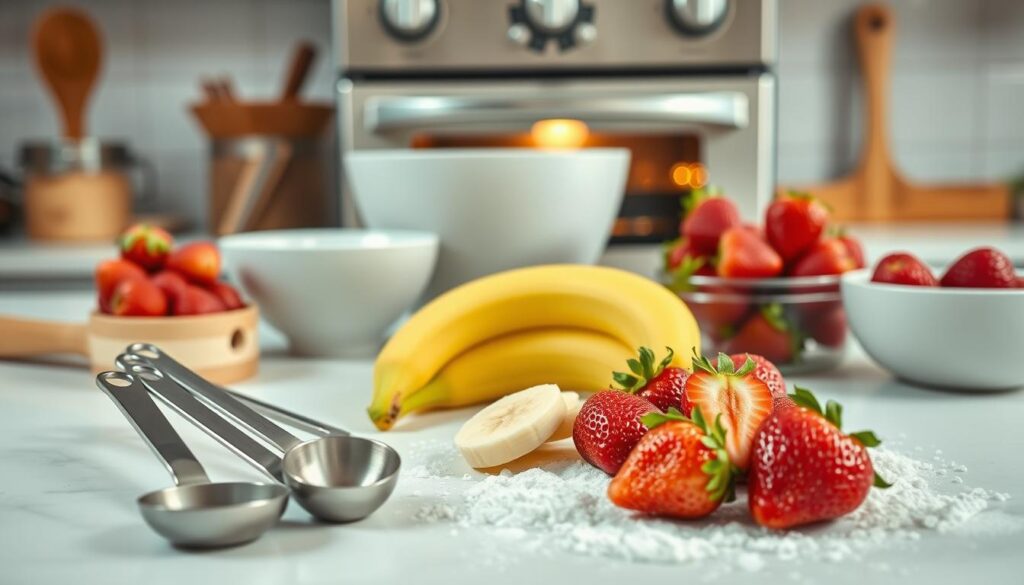
Essential Ingredients and Their Benefits
The foundation of any great recipe lies in its components. Choosing the right elements ensures ideal texture and flavor while allowing flexibility for dietary needs. Let’s break down what makes this dish work and how to adapt it to your preferences.
Key Ingredients: Mashed Bananas, Strawberries, and More
Self-rising flour forms the base, providing structure without heavy kneading. Three overripe bananas (about 1.5 cups mashed) deliver natural sweetness and moisture. Fresh berries add bursts of tartness, while a touch of maple syrup balances flavors without refined sugar.
Why these ratios? Using 2 cups of flour ensures the batter holds its shape, while 14 ounces of diced fruit prevents sogginess. Eggs aren’t needed here—mashed bananas act as a binder. For best results, select berries that feel firm but yield slightly to pressure.
Ingredient Swaps and Alternatives
No self-rising flour? Combine all-purpose flour with baking powder and salt. Coconut oil works instead of butter for a dairy-free version. If strawberries aren’t in season, try frozen ones (thawed and patted dry).
- Swap sugar with honey or mashed dates
- Replace eggs with ¼ cup applesauce or yogurt
- Use gluten-free flour blends for dietary needs
Remember: Spotty bananas are sweeter. Let them ripen on your counter until the peels turn mostly brown. This simple trick unlocks deeper flavor and creamier texture in every slice.
Preparing Your Fruits for Optimal Flavor
Great results start with proper prep work. Spending a few extra mins here ensures even distribution and prevents soggy textures. Let’s break down two critical steps for success.
How to Mash Bananas Perfectly
Use overripe bananas with brown speckled skins. Mash them with a fork until completely smooth—no lumps allowed. This creates a creamy base that blends seamlessly into your batter prepared for baking.
Pro tip: Let mashed bananas sit for 5 mins. This releases natural sugars, enhancing sweetness without additives. Stir again before mixing with dry ingredients.
Tips on Coating and Prepping Berries
Wash and dry your berries thoroughly. Gently toss diced pieces in 1 tbsp flour before folding into the mix. This coating helps suspend fruit in the batter prepared, preventing sinking during baking.
Work quickly once berries are added. Overmixing crushes delicate pieces, releasing juices that can alter texture. For best results, use a spatula and fold in 10 circular motions max.
These tips guarantee vibrant fruit pockets in every slice. Remember: Proper prep takes less than 5 minutes but makes all the difference in your final bake.
Mastering the Strawberry crumble banana bread Technique
Great baking hinges on technique as much as ingredients. The difference between good and exceptional lies in how you handle the batter. Start by combining dry and wet mixtures separately. This ensures even distribution of baking powder, which reacts instantly to create air pockets for a light crumb.
Fold ingredients together using a spatula—no electric mixers needed. Stop when streaks of flour disappear. Overmixing activates gluten, leading to dense results. A few lumps are fine! This gentle approach preserves the flavor harmony between fruit and batter.
Vanilla extract is optional but transformative. Add 1 tsp to elevate natural sweetness without overpowering the berries. Remember: Precision matters with leavening agents. Too much baking powder causes bitter notes, while too little leaves the loaf flat.
Pour batter into a lined pan immediately after mixing. Smooth the top, then sprinkle your crumble evenly. Bake at 350°F for 50-55 minutes. Test doneness by inserting a toothpick—it should emerge with moist crumbs, not wet batter.
Master these steps, and you’ll achieve bakery-quality texture every time. Technique turns simple components into something extraordinary. Now you’re ready to make this banana bread recipe your signature treat.
Baking Process and Oven Tips
Your oven transforms raw batter into golden perfection. Timing and temperature control separate good bakes from great ones. Let’s explore how to harness heat for consistent results every time.
Preheating to the Right Temperature
Set your oven to 350°F before mixing ingredients. This gives the appliance 15-20 minutes to stabilize. Cold ovens create uneven heat pockets, leading to collapsed centers or burnt edges.
Use an oven thermometer for accuracy. Many models run hotter or cooler than their displays suggest. “Trust but verify” applies here—double-checking ensures your loaf pan receives steady, reliable heat.
| Common Oven Issues | Solution | Impact on Bake |
|---|---|---|
| Inaccurate temperature | Use external thermometer | Even rise |
| Heat fluctuations | Avoid opening door | Consistent texture |
| Cold spots | Rotate pan halfway | Uniform browning |
Mastering Bake Time and Texture
Pour batter into your lined loaf pan immediately after mixing. Smooth the top with a spatula—this prevents air gaps. Bake for 50-55 minutes, checking at 45 minutes with a toothpick.
Look for moist crumbs clinging to the toothpick, not wet batter. Overbaking dries out the crumb, while underbaking leaves gummy patches. Remember: Residual heat continues cooking as the pan cools on a rack.
“Baking is equal parts science and intuition. The toothpick test never lies—let it guide you.”
For extra protection against overbrowning, tent foil over the top during the final 10 minutes. This technique preserves moisture while allowing the center to finish cooking.
Creative Variations and Add-Ons
Transform your basic loaf into a customizable masterpiece with simple tweaks. Personalization turns this recipe into an endless flavor adventure. Let’s explore how to elevate your creation with pantry staples and seasonal twists.
Mix-Ins That Elevate Every Bite
Chopped walnuts or pecans add satisfying crunch. Fold in ½ cup after coating berries. For chocolate lovers, dark chips melt into rich pockets—use ¾ cup for balanced sweetness.
Swap strawberries with rhubarb in spring. Its tartness pairs beautifully with bananas’ creaminess. Reduce maple syrup by 1 tbsp to balance flavors. Fresh or frozen work equally well.
| Add-On | Quantity | Flavor Impact |
|---|---|---|
| Almonds | ⅓ cup | Nutty depth |
| White chocolate | ½ cup | Creamy contrast |
| Dried coconut | ¼ cup | Tropical twist |
Experiment with oils to alter texture. Coconut oil adds subtle sweetness, while olive oil creates a denser crumb. For extra richness, try browned butter—it adds caramel notes without overpowering fruit flavors.
Dust the top with cocoa powder before baking for visual flair. A pinch of cinnamon or cardamom in the batter introduces warm undertones. These small changes make each loaf uniquely yours.
“Baking becomes art when you play with textures and tastes. Don’t fear experimentation—it’s how new classics are born.”
Storing and Serving Your Banana Bread
Preserving your baked creation requires smart storage strategies. Let’s explore how to maintain that just-baked texture while extending enjoyment beyond the first serving. Proper techniques ensure every slice stays moist and flavorful.
Best Practices for Keeping It Fresh
Cool your loaf completely before storing—about 1 hour. Transfer it to an airtight container lined with paper towels. This setup absorbs excess moisture while preventing dryness. At room temperature, it stays fresh for up to three days.
For longer storage, wrap individual slices in plastic. Place them in freezer bags labeled with the date. They’ll keep for 2 months without losing quality. Thaw at room temperature for 30 minutes when ready to enjoy.
Portion control simplifies serving. Use a standard cup measure to cut even slices. Pre-portion servings into small bowls or containers for quick snacks. This method helps track intake and reduces waste.
Revive leftovers in seconds:
- Microwave a slice for 15 seconds to restore softness
- Toast in a dry pan for 2 minutes to crisp edges
- Reheat whole loaves wrapped in foil at 300°F for 10 minutes
Remember: Time affects texture. Consume refrigerated portions within five days, and frozen ones within eight weeks. With these tips, your treat stays delicious from first bite to last crumb.
Conclusion
Every great recipe starts with understanding the basics. Your perfectly baked loaf combines precise mixing, oven timing, and smart techniques. By focusing on a well-balanced batter and proper pan preparation, you ensure consistent results every time.
Whether adding nuts or swapping fruits, the core principles remain. Always preheat your oven and monitor moisture levels—these steps prevent dense textures or underbaked centers. Trust the process, and your creation will shine.
Share your twists online using #SimpleBakes! For more trusted recipes, explore our collection of quick, foolproof ideas designed for your kitchen success. Happy baking!
FAQ
Can I use frozen fruit instead of fresh?
Yes, but thaw and drain excess liquid first. Excess moisture can affect texture. Pat dry with paper towels before folding into batter prepared with mashed bananas.
How do I prevent strawberries from sinking to the bottom?
Toss diced fruit in 1 tbsp of flour before adding to the mix. This coating helps distribute them evenly and prevents sogginess.
What’s the best way to check if it’s fully baked?
Insert a toothpick into the center. If it comes out clean or with crumbs (not wet batter), your loaf is done. Avoid overbaking to retain moisture.
Can I substitute oil with applesauce?
Absolutely! Replace oil 1:1 with unsweetened applesauce for a lower-fat option. This swap works well with recipes using ripe bananas for natural sweetness.
How long does it stay fresh?
Store in an airtight container at room temperature for 2-3 days. For longer freshness, refrigerate up to 1 week or freeze slices wrapped in plastic for 3 months.
Can I add nuts or chocolate chips?
Yes! Fold in ½ cup of chopped walnuts, pecans, or dark chocolate chips after mixing wet and dry ingredients. Adjust baking time by 2-3 minutes if needed.